
This article contains affiliate links. We may earn a commission from qualifying purchases.
Some content on this site is AI-assisted and reviewed by our editorial team.
Best Backpacking Food and Meals 2026: What to Eat on the Trail
Last updated: June 2026 | By GearHound
Why Your Trail Food Choices Actually Matter
Backpacking burns serious calories. We are talking 3,500 to 5,500 calories per day depending on terrain, pack weight, and mileage. Every ounce in your pack has to earn its place, and that goes triple for food. The math is simple: you need maximum calories per ounce, decent nutrition, and something that will not make you miserable after day two on the trail.
I have eaten enough bad trail meals to know the difference between “sustained me” and “made me question why I came out here.” The right backpacking food keeps your energy steady, tastes good enough that you actually want to eat it, and does not weigh you down or require a camp stove the size of a jet engine. Whether you are doing a weekend loop with your dog or a five-day traverse, what you pack to eat can make or break the trip.
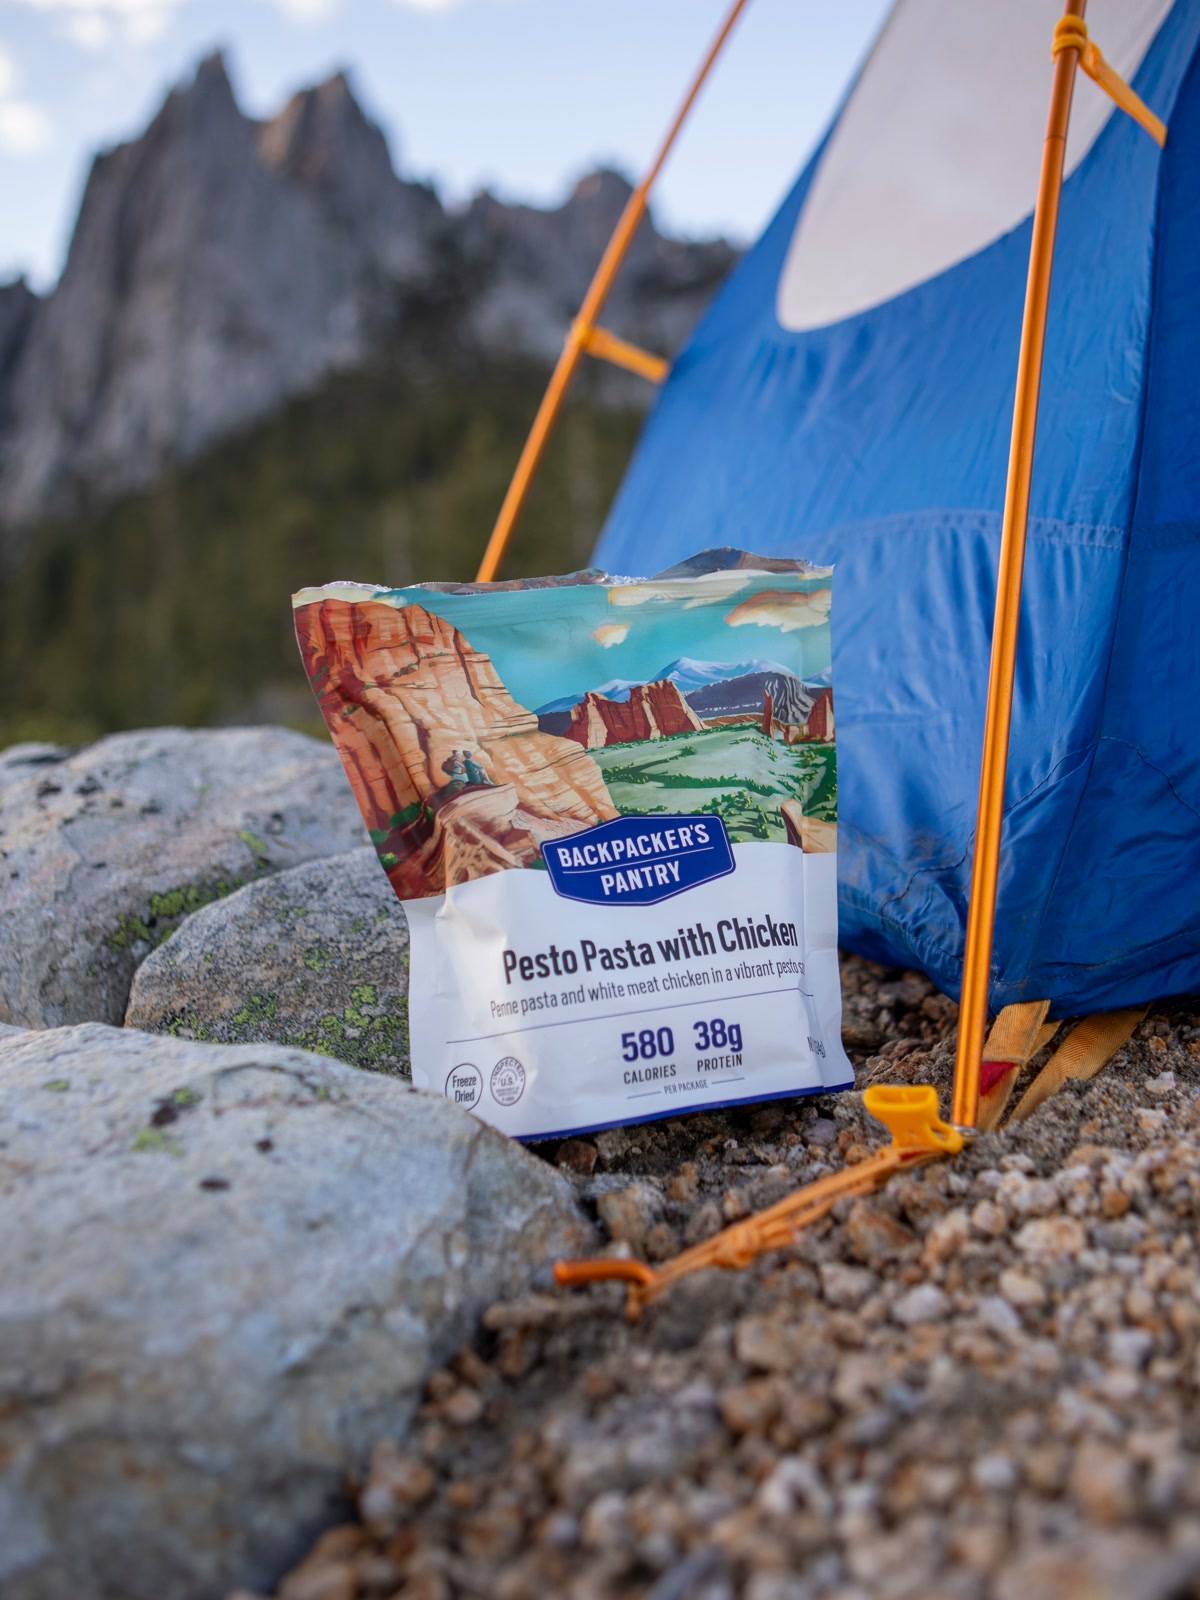
In this guide, I will break down the types of backpacking food, what to look for when choosing meals, the specific products worth packing, how to plan and pack your food, and a practical 2-day meal plan you can use on your next trip. Let us get into it.
Types of Backpacking Food
Freeze-Dried Meals
Freeze-dried meals are the gold standard for backpacking food. The process removes moisture through sublimation (freezing the food, then reducing pressure to extract ice crystals directly as vapor), which preserves flavor, texture, and nutrients far better than traditional dehydration. You just add boiling water, wait 8 to 10 minutes, and eat straight from the pouch. No pots to clean. No dishes. This is the category most backpackers rely on for dinners and substantial breakfasts.
The trade-off: freeze-dried meals are expensive, typically 8 to 14 dollars per pouch for two servings. They also require hot water, which means carrying a stove and fuel. But the convenience and taste are hard to beat.
Dehydrated Meals
Dehydrated meals use low heat to remove moisture over several hours. They are generally lighter than freeze-dried meals and often have better ingredient quality (real vegetables, whole grains, spices you can actually taste). The downside is longer rehydration times. Some dehydrated meals need 15 to 20 minutes of soaking, and certain ingredients like beans or root vegetables never fully soften. Some can be cold-soaked if you want to skip the stove entirely.
DIY Meals
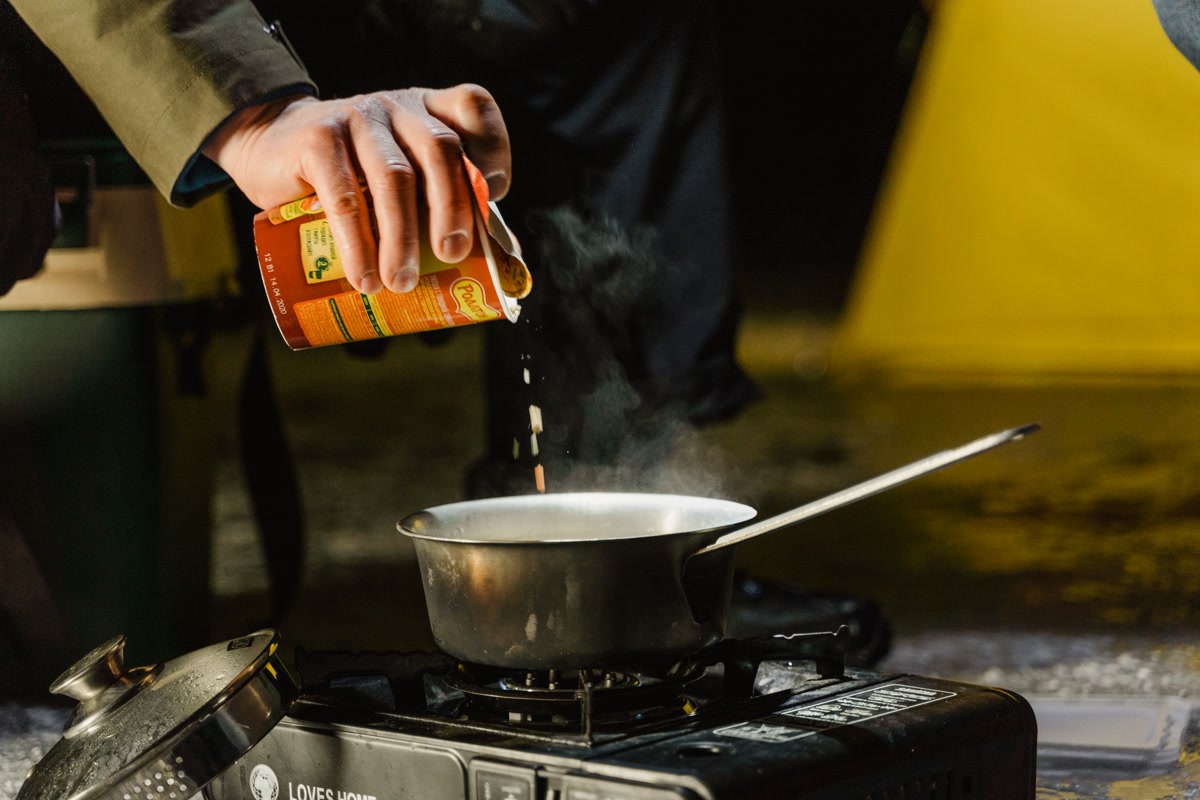
For budget-conscious backpackers or those with dietary restrictions, DIY meals are the way to go. Instant couscous, ramen, instant mashed potatoes, packets of tuna or chicken, dehydrated vegetables, and instant rice can be combined into calorie-dense meals for a fraction of the cost of commercial options. The trade-off is prep time, cleanup (you will need a pot), and more trial and error to get recipes that taste good and provide enough calories.
Snack Bars and Trail Mix
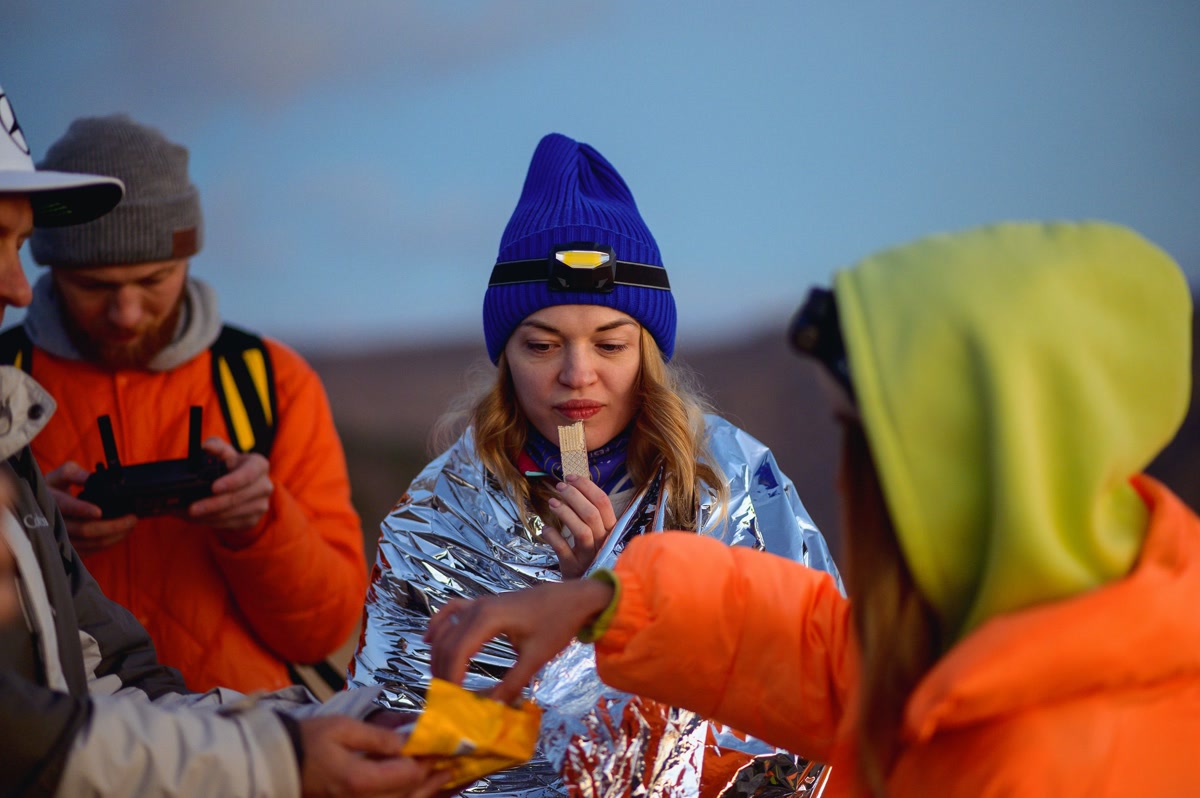
Snacks are not just extras. They are the backbone of your daytime calories. When you are hiking hard, stopping to cook a meal every few hours is not realistic. You need food you can eat while walking. Energy bars, trail mix, nut butter packets, jerky, and dried fruit keep you moving and fill the calorie gap between meals.
How to Choose Backpacking Food: Key Criteria
Here is what I look at when evaluating backpacking food:
- Calories per ounce: The benchmark. Aim for 125 to 150 calories per ounce for meals, and 100+ calories per ounce for snacks. If a meal gives you 600 calories but weighs 6 ounces, that is 100 calories per ounce. Not great. Peak Refuel’s Chicken Teriyaki hits 580 calories at 4.7 ounces. That is 123 calories per ounce. Solid.
- Weight and packability: Vacuum-sealed pouches compress better than bulky boxes. Repackage everything into ziplock bags to save space.
- Cook time and water needed: If a meal needs 20 minutes and 2 cups of water, that is more fuel and more water you have to carry. Know the requirements before you pack.
- Taste and nutrition: After three days of hiking, appetite fatigue sets in. If your food tastes like cardboard, you will stop eating enough to sustain yourself. Prioritize meals you have taste-tested at home first.
- Protein content: Hiking breaks down muscle. Look for 20+ grams of protein per meal to support recovery. Many commercial freeze-dried meals are carb-heavy and protein-light, so check labels.
- Dietary needs: Gluten-free, vegan, dairy-free options are more available than ever. Mountain House, Good To-Go, and AlpineAire all offer meals for specific diets.
The Best Backpacking Food and Meals for 2026
These are the meals and snacks I have actually packed, eaten on the trail, and would buy again. I have organized them by category so you can build a complete food kit.
Best Overall Freeze-Dried Dinner: Peak Refuel Chicken Teriyaki Rice
Peak Refuel Chicken Teriyaki Rice is the meal I reach for first. At 580 calories and 40 grams of protein per pouch (2 servings), it has nearly double the protein of most Mountain House meals. The chicken is real, the sauce has actual flavor, and it rehydrates in about 12 minutes. At around 10 dollars per pouch, it is not cheap, but the calorie-to-weight ratio is excellent and the protein content makes it worth the premium.
Best Budget Freeze-Dried Dinner: Mountain House Chili Mac with Beef
Mountain House Chili Mac with Beef is a classic for a reason. It is affordable (about 8 dollars per pouch), widely available, and the 6-pack gives you a per-meal cost under 8 dollars. The flavor is comfort food: chili-spiced beef and macaroni in a tomato sauce. It is not going to win any culinary awards, but after 12 miles with a full pack, it hits the spot. Two servings per pouch, 660 calories total, and 29 grams of protein.
Best Premium Dinner: AlpineAire Grilled Chicken Pad Thai
AlpineAire Grilled Chicken Pad Thai is the meal I pack when I want to actually look forward to dinner. AlpineAire uses a mix of freeze-dried and dehydrated ingredients, and the Pad Thai has grilled chicken pieces, rice noodles, peanuts, and a sauce that genuinely tastes like Thai food. It costs a bit more, but the ingredient quality and flavor complexity justify it. If you are tired of every meal tasting like salty tomato sauce, this one is a palate reset.
Best Cold-Soak / No-Cook Meal: Good To-Go Cucumber Chaat Salad
Good To-Go Cucumber Chaat Salad is the answer for ultralight hikers who want to skip the stove entirely. Cold-soak meals rehydrate in cold water over 30 to 45 minutes. This one is a tangy, crunchy cucumber salad with chickpeas and chaat spices. It is refreshing, which is not a word I use often about backpacking food. The 6-pack gives you meals at around 7 to 8 dollars each, and not needing fuel or a stove saves serious weight.
Best Breakfast: Mountain House Breakfast Skillet
Mountain House Breakfast Skillet is hash browns, eggs, bacon, and peppers in one pouch. Add boiling water, wait 8 minutes, and you have a real breakfast. It is 640 calories per pouch with 13 grams of protein per serving. This is the meal that makes getting out of your sleeping bag on a cold morning worth it. Pair it with instant coffee and you are set for the day’s miles.
Best Snack Bar: RXBAR Protein Bars
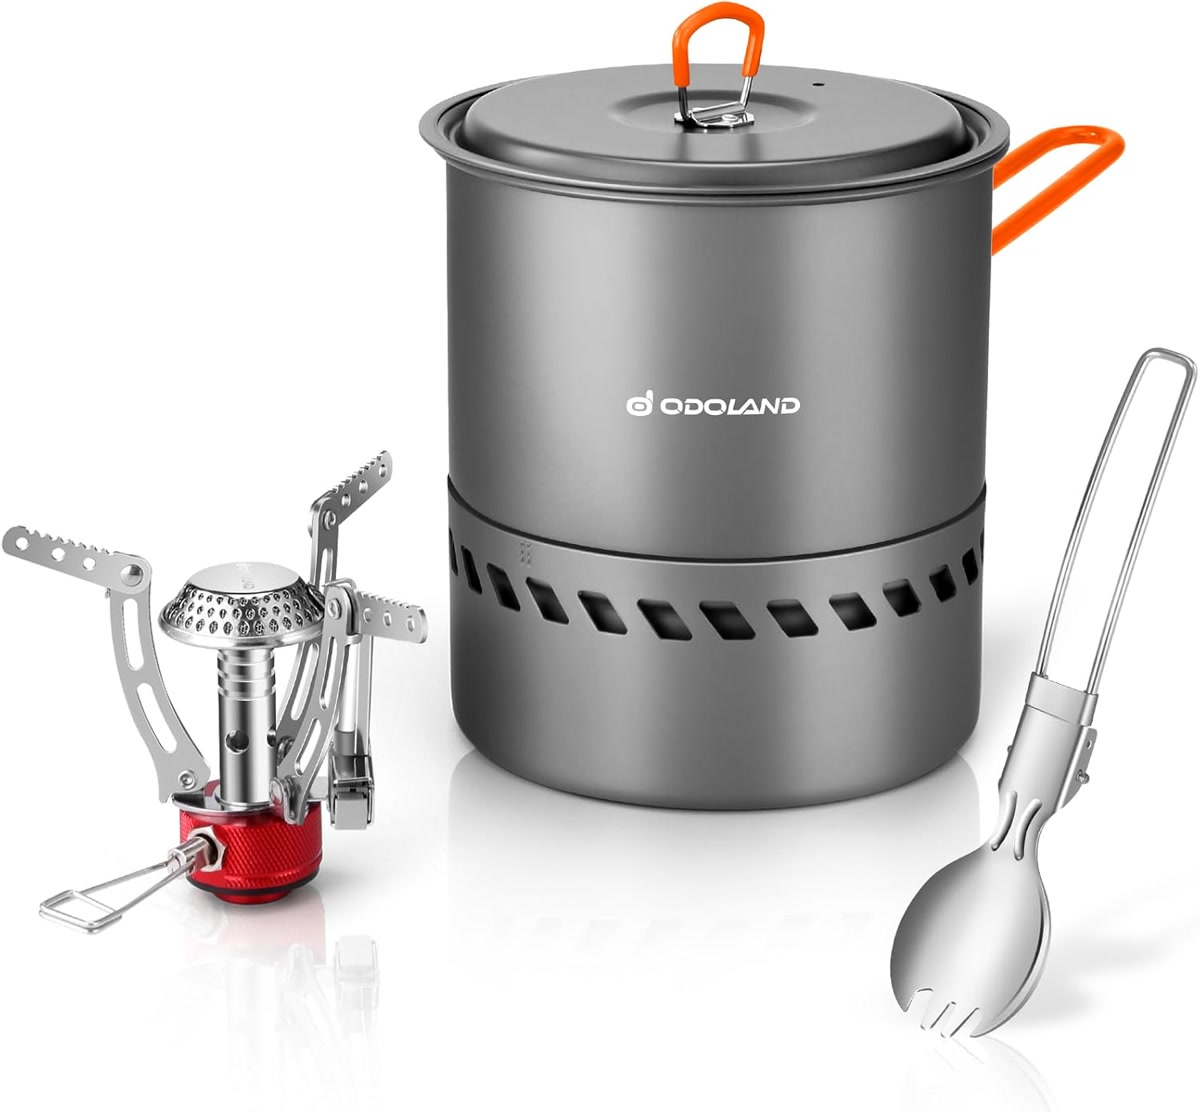
RXBAR Protein Bars (Chocolate Sea Salt, 12-count) are my go-to daytime fuel. They are 210 calories and 12 grams of protein per bar, with no added sugar or mystery ingredients. The ingredient list is printed right on the front: dates, egg whites, almonds, cashews, cocoa. They are dense, chewy, and hold up in a pack without melting into a paste. At about 2 dollars per bar, they are not the cheapest option, but they are real food that actually sustains energy.
Best Nut Butter: Trail Butter Lil’ Squeeze Packets
Trail Butter Lil’ Squeeze Dark Chocolate and Coffee (12-pack) is the best calorie-to-weight snack in my pack. At 1.15 ounces per pouch and roughly 170 calories, that is 147 calories per ounce, which is outstanding. Squeeze it onto a tortilla, eat it straight from the pouch, or use it as a dip for dried fruit. The dark chocolate and coffee flavor tastes like a treat, and the blend of almond and cashew butter provides slow-burning fat calories that keep you moving for hours.
Best Dehydrated Meal (Non-Cold-Soak): Good To-Go Oatmeal
Good To-Go Oatmeal (6-pack) is a significant upgrade from instant oatmeal packets. Real rolled oats, dried fruit, and enough flavor that you do not need to add anything. It rehydrates in about 10 minutes with hot water and comes in at around 300 calories per serving. Good To-Go meals are made in Maine by a chef, and the quality difference is noticeable. If you want a breakfast that feels like actual food rather than flavored paste, this is it.
Budget vs Premium: How to Save Without Eating Garbage
Not every meal needs to be a 12-dollar gourmet pouch. Here is how to mix price tiers strategically:
- Dinners: Spend your money here. After a full day of hiking, a hot meal you actually want to eat is critical for morale and recovery. Peak Refuel or AlpineAire for premium, Mountain House for budget.
- Breakfasts: Mid-tier is fine. Mountain House Breakfast Skillet or Good To-Go Oatmeal will do the job. Instant oatmeal from the grocery store (the kind in the big canister, not the sugar-loaded packets) is the true budget option.
- Lunches and snacks: This is where you save money. DIY trail mix (bulk nuts, M&Ms, dried fruit from the grocery store), tortillas with peanut butter, jerky, and cheese (for the first day only) are all cheaper and often better than commercial snack packs.
- DIY dinners: Instant couscous (120 calories per ounce) with a packet of chicken and some dried vegetables costs about 3 dollars and weighs under 5 ounces. It is not as tasty as Peak Refuel, but at a third of the cost, it is a legitimate strategy for longer trips.
How to Pack Food Efficiently
Food takes up more pack space than almost anything else. Here is how to compress it:
- Repackage everything. Take meals out of their boxes and put them in labeled ziplock bags. Write the water amount and cook time on each bag with a Sharpie.
- Use a dedicated food bag, not random pockets. A large dry bag or Ursack keeps food consolidated and bear-resistant.
- Plan by day. Put each day’s meals and snacks into a single gallon-size bag. When you reach camp, you grab that day’s bag and you are done.
- Remove excess packaging at home. foil pouches are fine. Cardboard boxes are wasted space.
- Carry trash bags separately. Food wrappers attract animals and smell up your pack. A single ziplock for all trash keeps things clean.
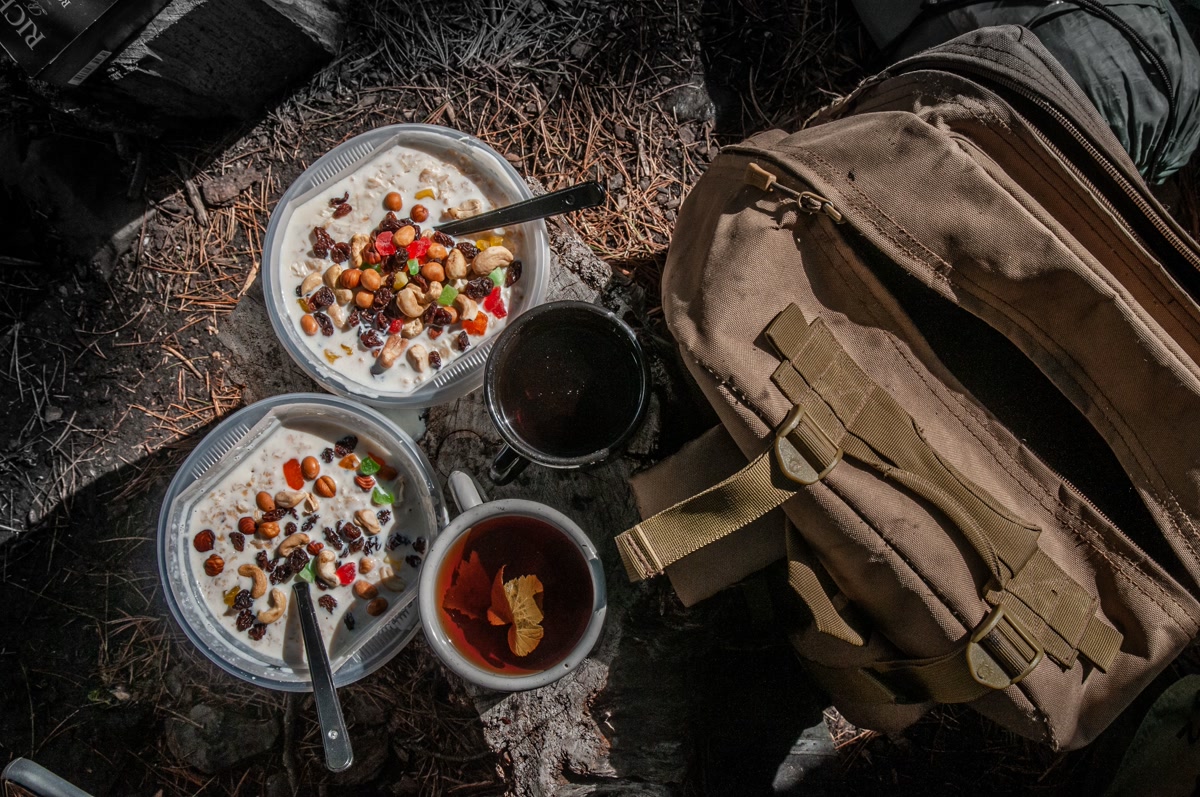
Water Needs for Different Meal Types
Water is the hidden weight in backpacking food. Every freeze-dried or dehydrated meal needs water to rehydrate, and that water comes from your source at camp or what you carry. Here is what to expect:
- Freeze-dried meals: Typically 1.5 to 2 cups (12 to 16 ounces) of water per pouch. Most pouches are designed to eat directly from, so no pot water needed for cleanup.
- Dehydrated meals: Often need 2 to 3 cups of water and longer rehydration times. Check each meal’s instructions.
- Cold-soak meals: Same water volume as hot meals, but no stove or fuel needed.
- DIY meals: Varies wildly. Instant couscous needs about 1 cup. Ramen needs 2 cups. Plan accordingly.
- Coffee and drinks: Budget another cup of water per person per day for coffee, cocoa, or electrolyte mixes.
Always check water availability at your campsite before counting on a meal that requires a lot of it. If you are dry camping, cold-soak meals and bars are your friends. For more on managing water on the trail, check this guide to the best hiking water bottles to make sure your hydration system can keep up with your meal plan.
Food Safety and Your Dog on the Trail
If you are backpacking with your dog, and GearHound readers usually are, food safety has an extra dimension. Here is what to keep in mind:
- Store all food, including dog food, in bear-safe containers. A bear canister or Ursack is not optional in bear country. Your dog’s kibble smells just as interesting to a bear as your freeze-dried lasagna.
- Do not leave food unattended. Squirrels, chipmunks, and raccoons will chew through packs to get to trail mix and dog treats. I have seen a mule deer steal a granola bar wrapper.
- Pack dog food in portion-sized bags. Measuring at altitude with wind and cold hands is miserable. Pre-portion each meal so you can just dump and go.
- Bring extra dog food for high-mileage days. Dogs burn more calories on the trail too. A 50-pound dog hiking 10 miles may need 30 to 50 percent more food than a normal rest day.
- Do not let your dog eat trail trash. Food wrappers left by other hikers can cause blockages. Keep your dog on leash in high-traffic areas.
For more on packing out with your dog, check our puppy hiking guide and our tips on dog food storage containers that work for the trail.
A Practical 2-Day Backpacking Meal Plan
Here is a complete food plan for a 2-day, 1-night backpacking trip. This provides roughly 3,200 calories per day for an average hiker. Adjust portions up for bigger people or harder terrain.
Day 1
- Breakfast (eaten at trailhead): 2 RXBARs, 1 banana, 16 oz coffee from a thermos. 500 calories.
- Snack 1 (on trail, mile 3): 1 Trail Butter Lil’ Squeeze packet, handful of trail mix. 300 calories.
- Lunch (on trail, mile 7): Tortilla with peanut butter packet, jerky, dried fruit. 600 calories.
- Snack 2 (on trail, mile 10): 1 RXBAR, 1 Trail Butter packet. 380 calories.
- Dinner (at camp): Peak Refuel Chicken Teriyaki Rice (full pouch), hot cocoa. 600 calories.
- Evening snack: Trail mix, 1 square dark chocolate. 300 calories.
Day 1 total: approximately 2,680 calories. Lighter day because you started with a real breakfast.
Day 2
- Breakfast (at camp): Mountain House Breakfast Skillet (full pouch), instant coffee. 640 calories.
- Snack 1 (on trail, mile 3): Good To-Go Oatmeal (made with camp water before leaving) or 2 RXBARs. 300 to 500 calories.
- Lunch (on trail, mile 7): Tortilla with almond butter packet, jerky, cheese (if eaten early in trip). 550 calories.
- Snack 2 (on trail, mile 11): Trail Butter packet, trail mix. 350 calories.
Day 2 total: approximately 2,440 calories. Add an extra RXBAR or more trail mix if you are running a calorie deficit.
This plan uses one cooked dinner, one cooked breakfast, and no-cook lunches and snacks. Total food weight is roughly 2.5 to 3 pounds for the entire trip, depending on how much trail mix and jerky you pack.
What to Pack for Your Dog
For a 50-pound dog on the same 2-day trip:
- Pre-portioned kibble: 4 meals in ziplock bags (about 2 to 3 cups per meal depending on activity level)
- Extra treats for trail motivation and reward
- A collapsible food and water bowl
- Any supplements or medications in a separate labeled bag
Dog food adds about 1.5 to 2 pounds for a 2-day trip. Store it the same as your food: in the bear canister or Ursack at night.
The Bottom Line
The best backpacking food strategy is not about finding one perfect product. It is about building a system that balances calories, weight, taste, and cost across your trip. Mix premium dinners with budget breakfasts and DIY snacks. Repackage everything. Know your water sources. And always, always store your food (and your dog’s food) properly at night.
My recommendation for most backpackers: stock up on Peak Refuel for high-protein dinners, Mountain House for budget-friendly breakfasts and backup meals, RXBARs for on-trail fuel, and Trail Butter packets for the best calorie-to-weight ratio you can get. Build your meal plan around those staples, add some DIY trail mix and tortillas, and you are set.
Get out there, eat well, and bring your dog.
GearHound is reader-supported. When you buy through links on this site, we may earn an affiliate commission at no extra cost to you.
⛺ Get Your Free Camping with Your Dog Checklist
Join our newsletter and get this free printable plus weekly tips.
Price Check
Prices verified via our product tracker. Updated Sep 27.
| Amazon.com: Peak Refuel Chicken Teriyaki Rice Freeze-Dried | $13.95 | 4.4★ (1,142) |
| Amazon.com: Mountain House Chili Mac with Beef | Freeze Dr | $69.99 | 4.7★ (784) |
| Amazon.com : RXBAR Protein Bars, 12g Protein, Gluten Free | $25.48 | 4.4★ (12,150) |
| Amazon.com : GOOD TO-GO Oatmeal (6-Pack of Single Servings | $35.00 | 3.9★ |
As an Amazon Associate we earn from qualifying purchases.