
This article contains affiliate links. We may earn a commission from qualifying purchases.
Some content on this site is AI-assisted and reviewed by our editorial team.
<!– Tags: dog paw care, dog paw protection, dog boots, paw balm, trail paw injury, dog hiking safety, dog paw first aid, cracked paw pads, dog boot fitting, paw inspection –>
Your Dog’s Paws Are the Only Gear That Can’t Be Replaced
Last updated: June 2026 | By GearHound
You can replace a torn jacket, a busted leash, or a cracked water bottle. You cannot replace your dog’s paw pads. And when they fail on the trail — split open on sharp rock, burned on hot pavement, or packed with burrs and thorns — your hike is over. Not maybe over. Not “I should probably head back.” Over. You’re carrying your dog out, or you’re limping them down the mountain one painful step at a time.
I learned this the hard way. My dog Chief sliced his rear pad on a piece of shattered glass someone left at a backcountry campsite three miles from the trailhead. I had boots in my pack — bought them, never trained him to wear them, carried them “just in case.” Just in case arrived, and Chief acted like I was strapping hot irons to his feet. I ended up bandaging his paw with vet wrap, carrying him the first mile, and coaxing him the last two. That was the last time I treated paw care as an afterthought.
This guide covers everything I’ve learned since: the injuries you’ll actually see, the gear that actually works, and the routine that keeps your dog’s feet healthy enough to hike another day. Whether you’re doing a two-mile loop or a multi-day backpacking trip, paw care is not optional — it’s the foundation of every successful trail day with your dog.
If you’re new to hiking with your dog, start with our puppy hiking guide for the basics. For the full safety rundown, our trail injuries field guide covers paw cuts and other common emergencies in depth.
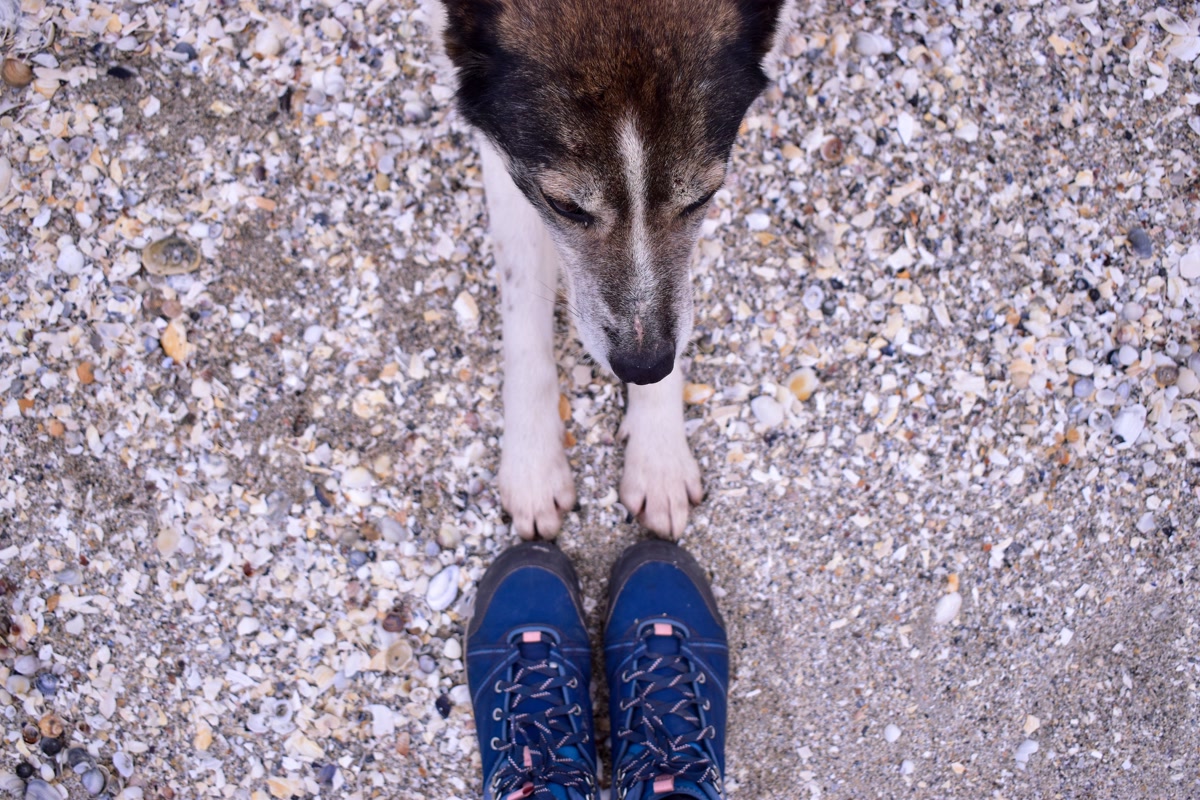
Why Paw Care Matters More Than You Think
Paw pads are shock absorbers, traction devices, and temperature regulators all in one. They’re made of thick, keratinized tissue that’s tougher than human skin but far from indestructible. And unlike your boots, they can’t be resoled.
The problem is that most dog owners never think about paw condition until something goes wrong. You wouldn’t wait for your hiking boots to delaminate before maintaining them, but people routinely show up at the trailhead with a dog whose pads are cracked, overgrown, and softened from months of walking only on carpet and sidewalks. Then they’re surprised when a rocky trail shreds those unconditioned pads in the first mile.
Here’s what’s actually happening on the trail: rough surfaces micro-abrade the pad surface. Heat softens the keratin, making it more vulnerable to tearing. Cold dries it out, causing cracks that deepen with every step. Moisture — from creek crossings, mud, or snow — softens the outer layer and makes it more prone to injury. And foreign objects: burrs, thorns, fox tails, and small rocks get lodged between the toes and pads, causing pain and infection.
The good news? All of this is preventable with a basic routine that takes about five minutes before and after every hike. Five minutes that saves you from carrying a bleeding dog off a mountain.
The Five Trail Paw Injuries You’ll Actually See
1. Pad Cuts and Lacerations
The most common trail paw injury, and the one that ends the most hikes. Sharp rocks, broken glass, thorns, discarded metal, and even hard-packed ice can slice through the pad surface. Minor cuts look worse than they are — pads bleed heavily — but deep lacerations or flap injuries need veterinary attention.
Signs: Limping, excessive licking, blood on the trail surface, visible cuts or flaps of pad tissue.
2. Pad Burns
Hot pavement, sun-baked rock, and even sand can reach temperatures that burn paw pads. This is the injury people underestimate most. Ground temperature can be 40 to 60 degrees hotter than air temperature in direct sun. A pleasant 80-degree day can produce 120-degree asphalt. And rocky trails in full sun? The surface temperature of sun-baked granite can exceed 130 degrees.
Signs: Limping, reluctance to stand, raw or blistered pads, paw lifting.
3. Abrasions and Wear
Long hikes on rough terrain wear down the pad surface faster than it can regenerate. The pad becomes smooth, pink, and tender — like a blister on your heel, but across the entire bottom of the foot. This is the injury that sneaks up on you: your dog seems fine until suddenly they’re not.
Signs: Tender-footed walking, slowing down, reluctance to continue, raw-looking pad surfaces.
4. Cracked Pads
Dry conditions, cold weather, and repeated wet/dry cycling cause the pad surface to crack. Small cracks are uncomfortable. Deep cracks split open and bleed, creating an entry point for infection. This is primarily a winter and desert problem, but air-conditioned homes and low-humidity environments contribute year-round.
Signs: Visible cracks in pad surface, flaking, limping on hard surfaces, paw licking at rest.
5. Foreign Objects
Foxtails, burrs, thorns, small rocks, and even pine needles lodge between toes, under nails, and in pad crevices. Foxtails are the worst — they’re barbed and work their way deeper into tissue over time. A foxtail between the toes can migrate into the foot and cause serious infection within 24 hours.
Signs: Sudden lameness, pawing at the mouth (from licking a foxtail), head shaking (foxtail in ear), localized swelling between toes.
Boots: When You Need Them and When You Don’t
Not every hike requires boots. In fact, over-booting a dog that doesn’t need them can cause more harm than good — boots trap moisture, reduce proprioception (your dog’s awareness of foot placement), and can cause chafing on long hikes where they’re not necessary.
When boots are mandatory:
- Hot pavement and sun-baked rock: If you can’t hold the back of your hand on the surface for seven seconds, it’s too hot for bare paws.
- Sharp rock terrain: Scree fields, volcanic rock, and broken shale will shred unconditioned pads.
- Snow and ice: Ice balls form between toes and in pad crevices, causing frostbite-level damage. Salt and chemical de-icers burn paw tissue.
- Post-injury recovery: If your dog has a healing cut or crack, boots protect the wound from dirt and further damage.
- Extended rugged hikes: Anything over 5-6 miles on rough terrain, especially if your dog’s pads aren’t conditioned to that distance.
When boots are optional:
- Soft forest trails: Dirt, pine needles, and leaf litter are gentle on pads. A conditioned dog can handle long distances bare-pawed on this terrain.
- Short neighborhood walks: If the surface is cool and smooth, boots are overkill.
- Grass and soft ground: Parks, meadows, and campgrounds with grass coverage are paw-friendly.
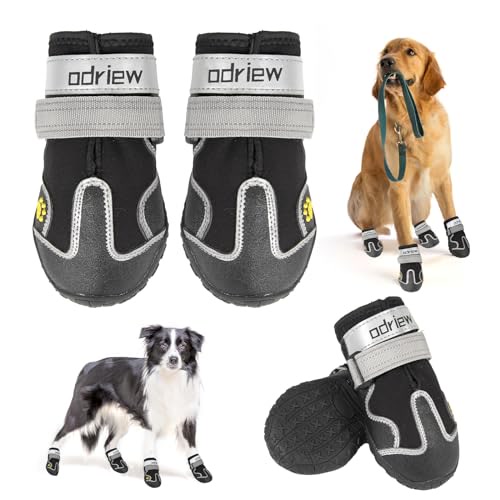
For our full breakdown of the best options, check out our complete dog boots guide for 2026. The short version: the Ruffwear Grip Trex remains the best all-around trail boot, with a Vibram sole that handles every terrain. For winter, the Muttluks Original Fleece-Lined boots provide warmth and moisture protection that unlined boots can’t match.
How to Fit Dog Boots That Actually Stay On
Boot fitting is where most owners fail. A poorly fitted boot will twist, spin, fall off, or rub a sore into your dog’s ankle. Here’s the correct method:
- Measure on a hard surface: Have your dog stand (not sit) on a piece of paper. Trace the widest part of the paw, including the nails. Measure the width — this is your sizing dimension.
- Size up if between sizes: A boot that’s too small pinches and causes chafing. A boot that’s slightly too large stays on better than one that’s slightly too small.
- Check the dewclaw: The boot should cover the dewclaw. If it sits below it, the strap will rub the dewclaw raw.
- Test the strap system: Dual straps wrapping in opposite directions grip far better than single-strap designs. The strap should be snug enough that you can’t twist the boot by hand, but loose enough to slip a finger underneath.
- Watch the gait: If your dog is walking on the outside of the boot or the boot is spinning, it’s too loose or too large. If the dog is pinching or refusing to put weight on it, it’s too tight.
For detailed measuring instructions, see our dog measuring guide — it covers boots, harnesses, and other gear where fit matters.
Paw Balm: Preventive Care That Actually Works
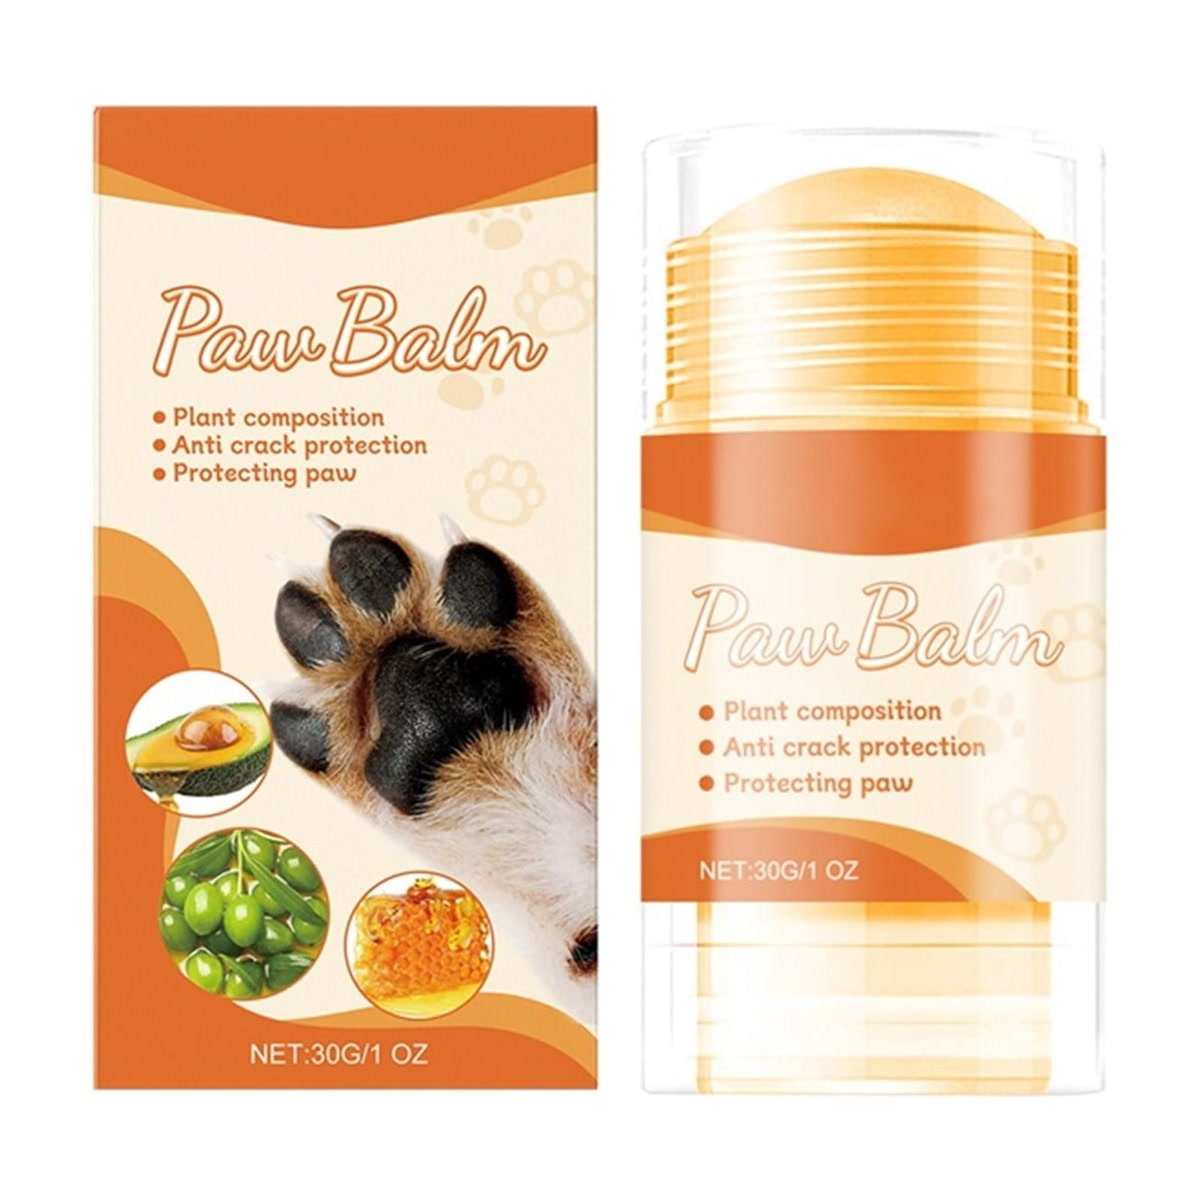
Paw balm is the underdog of paw care. It doesn’t look impressive — a tin of waxy stuff you rub on your dog’s feet — but it’s the single most effective preventive measure you can take. A good paw balm conditions the pad surface, maintains flexibility, prevents cracking, and creates a thin barrier against salt, chemicals, and hot surfaces.
Apply balm the night before a hike to allow it to absorb. Apply again after the hike to restore moisture and start the conditioning process for the next outing. In winter, apply before every walk to create a salt barrier. In dry conditions, apply every other day to prevent cracking.
The two I recommend:
- Musher’s Secret Paw Protection Wax — The gold standard. Originally developed for sled dogs, this dense wax absorbs into the pad and creates a flexible, water-resistant barrier. It’s not greasy, doesn’t track into the house, and a single application lasts several hours on the trail. This is what I use on Chief before every hike. A 200-gram tub lasts an entire season.
- Bodhi Dog Paw Balm — A plant-based balm designed for healing cracked, dry pads rather than preventive coating. Use this one for recovery: apply it after hikes and before bed to repair pad damage. It absorbs quickly and doesn’t leave a waxy residue, which makes it better for daily maintenance use.
Don’t use petroleum-based products like Vaseline. They sit on the surface, don’t absorb, and trap dirt and debris against the pad. They also make your floors a slipping hazard.
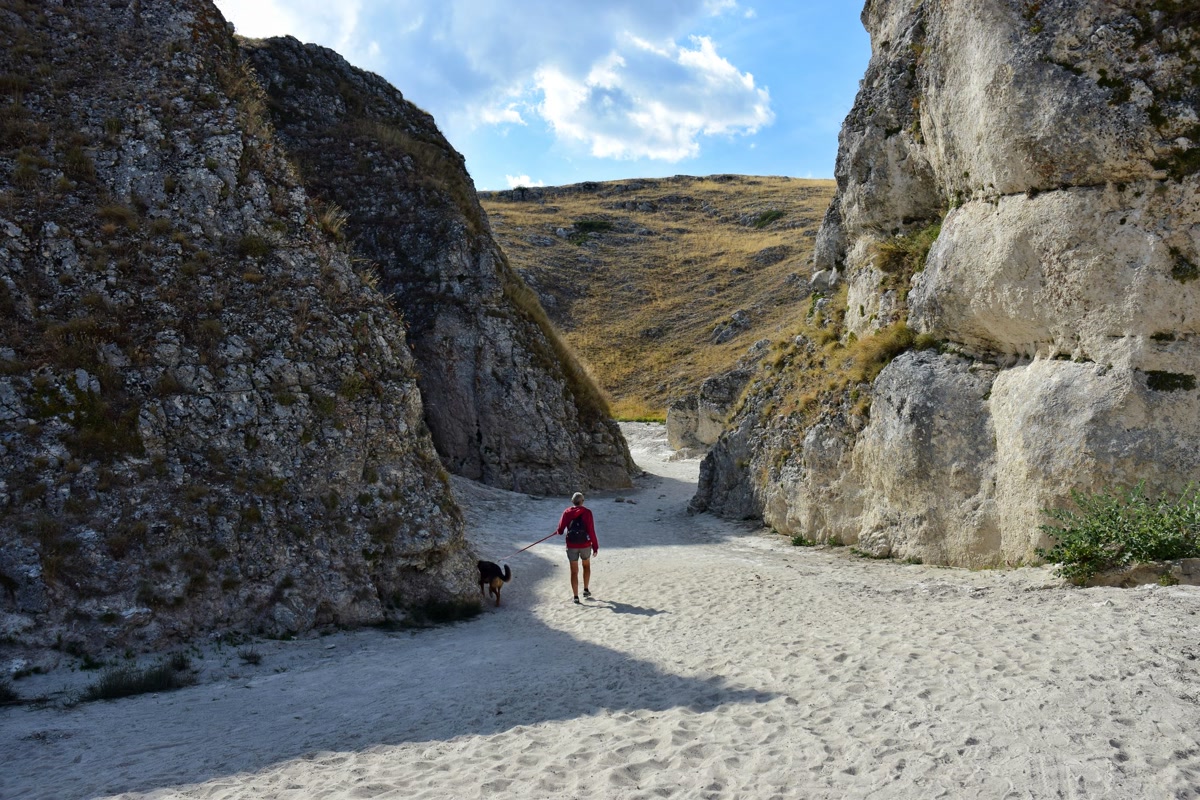
The Post-Hike Paw Inspection Routine
This is the routine that catches problems before they become emergencies. It takes two minutes. Do it at the trailhead before you load up, and do it again at home when you unload.
At the trailhead (quick check):
- Look at each paw — all four, not just the front two. Rear paws take more weight on downhill sections and often take the worst beating.
- Spread the toes and check between them. Look for rocks, burrs, thorns, and foxtails.
- Check the pad surface for cuts, abrasions, and raw spots.
- Run your thumb across each pad. If your dog flinches, there’s a problem.
- Check the nail length. Long nails change paw biomechanics and cause toe splay, which leads to pad wear on the wrong surfaces.
At home (thorough check):
- Wash each paw with warm water or use a Dexas MudBuster portable paw cleaner to remove trail dirt and debris.
- Dry thoroughly, especially between the toes. Moisture trapped between toes causes fungal infections and interdigital cysts.
- Apply paw balm to condition the pads after the stress of the hike.
- Inspect the pad surface under good light. Look for pink spots (wear), cracks (dryness), and any embedded material.
- Check the dewclaws. Dewclaws are often forgotten and can get snagged on trail debris.
If you find a minor cut or abrasion, clean it with antiseptic and apply a thin layer of paw balm. For deeper cuts, see our trail injuries field guide for field treatment techniques. Make sure your dog first aid kit is stocked with vet wrap, gauze, and antiseptic before you head out.
First Aid for Paw Injuries on the Trail
When paw injuries happen on the trail, you need to stabilize and evacuate. Here’s the quick-reference guide:
Minor cuts (surface only):
- Rinse with clean water or saline to remove debris.
- Apply direct pressure with gauze for 5-10 minutes to stop bleeding.
- Apply a thin layer of paw balm or wound adhesive for small cuts.
- Bandage with non-stick pad, gauze, and vet wrap. Not too tight.
- Monitor for re-bleeding. If it stops, walk slowly back to the trailhead.
Deep cuts or pad flaps:
- Stop walking. Carry the dog or have them stand on three legs.
- Flush the wound with saline or clean water.
- Apply pressure with gauze. Pad cuts bleed heavily — this is normal.
- If bleeding doesn’t stop after 15 minutes of pressure, apply styptic powder.
- Bandage firmly but not tight enough to cut circulation.
- Get to a vet. Deep pad cuts often need suturing and will not heal properly without veterinary care.
Pad burns:
- Get off the hot surface immediately. Find shade or carry the dog to grass.
- Soak the paw in cool (not cold) water for 5-10 minutes.
- Apply paw balm or aloe vera gel to the affected pads.
- Boot the affected paw(s) to prevent further damage during evacuation.
- Mild burns heal in a few days. Severe burns with blistering need veterinary care.
Foreign objects:
- Remove the object with tweezers. Pull foxtails straight out — never squeeze, as this pushes barbs deeper.
- If the object is deeply embedded, don’t dig for it. Bandage the paw and get to a vet.
- Clean the area with antiseptic after removal.
- Monitor for swelling over the next 24-48 hours. Foxtail migration can cause serious infection days after removal.
Every trail dog owner should carry a basic dog first aid kit with vet wrap, gauze, antiseptic, and tweezers. The Adventure Medical Kits Me & My Dog kit covers both human and canine needs in one organized package.
Terrain-Specific Paw Care Advice
Rocky Trails and Scree Fields
Rock is the toughest terrain on paw pads. Sharp edges cut, rough surfaces abrade, and the uneven footing causes toe splay that stretches the pad surface. If your dog isn’t boot-conditioned, stick to softer trails and save the rocky stuff for when their pads are ready. Apply paw balm the night before to condition the pad surface. Check pads every 30 minutes on rocky terrain — abrasion can go from “fine” to “raw” in less than a mile.
Hot Pavement and Sun-Baked Rock
The seven-second rule: place the back of your hand on the surface. If you can’t hold it there for seven seconds, it’s too hot for paws. This applies to pavement, sand, rock, and especially the blacktop at popular trailheads. Early morning and evening hikes avoid the worst heat. If you must hike in hot conditions, boots are non-negotiable. For more hot-weather gear, see our dog cooling vest guide.
Snow and Ice
Snow and ice present three problems: ice balls between toes, cold-induced cracking, and chemical de-icers. Ice balls form when snow packs between the toes and melts from body heat, then refreezes. Keep the hair between toes trimmed short to reduce ice ball formation. Apply paw balm before the hike to create a moisture barrier. Use boots for any sustained snow travel — not just for warmth, but to prevent the wet/dry cycling that cracks pads. The Muttluks fleece-lined boots are built for exactly this. See also our rain gear guide for wet-weather layering.
Muddy and Wet Conditions
Mud softens paw pads, making them more vulnerable to cuts and abrasions. Prolonged moisture causes the pad surface to become macerated — white, wrinkled, and tender, like your feet after a long bath. Dry your dog’s paws thoroughly after wet hikes, and check pads more frequently since soft pads damage more easily. A portable paw washer like the Dexas MudBuster makes trailhead cleanup fast and prevents mud from getting into the car.
Training Your Dog to Accept Boots
This is the part most owners skip, and it’s why most boots end up in a drawer unused. You cannot put boots on a dog for the first time at the trailhead and expect things to go well. Training takes one to two weeks of short, positive sessions. Here’s the progression:
- Day 1-2: Desensitization. Let your dog sniff and investigate the boots. Put a treat inside each boot. Let them fish it out. Put a boot on one paw for two seconds, give a high-value treat, remove the boot. Repeat with each paw.
- Day 3-5: Indoor walking. Put all four boots on. Walk your dog around the house for 2-3 minutes. Treats and praise throughout. Take them off before your dog tries to kick them off. End on a positive note.
- Day 6-8: Short outdoor sessions. Walk on soft ground — grass or dirt — for 5-10 minutes. Your dog will walk funny at first. This is normal. Keep the sessions short and positive.
- Day 9-12: Building distance. Gradually increase walk length to 20-30 minutes. Introduce different surfaces. If your dog stops high-stepping and walks normally, they’ve accepted the boots.
- Day 13+: First trail hike. Start with a short, familiar trail. Bring extra boots in case one falls off. Check fit after the first mile.
The biggest mistake is rushing. If your dog is fighting the boots at step 3, go back to step 1. A dog that’s comfortable in boots is a dog that can hike any terrain safely. A dog that’s stressed by boots is a dog that will kick them off on the trail and leave you with zero protection.
The Gear List: What to Carry for Paw Care on the Trail
- Paw balm — Applied before the hike, reapplied on long days. Musher’s Secret for prevention, Paw Soother for recovery.
- Dog boots — Even if your dog doesn’t need them for the planned route, carry a pair for emergencies. Ruffwear Grip Trex for all-around use.
- Boot liners — For winter use or for dogs that chafe. Liners add a moisture-wicking layer that prevents rubbing. Ruffwear Bark’n Boot Liners are thin, breathable, and sized to match Ruffwear boots.
- Vet wrap — For bandaging cuts and abrasions. Cohesive wrap that sticks to itself, not to fur. Vet wrap on Amazon.
- Antiseptic wipes or spray — For cleaning wounds before bandaging. Chlorhexidine-based products are safe for dogs.
- Tweezers — For removing thorns, foxtails, and debris from between toes and pad crevices.
- Styptic powder — Stops bleeding fast on minor cuts and torn nails. Styptic powder on Amazon.
- Portable paw washer — For cleaning mud and debris at the trailhead. Dexas MudBuster.
All of this fits in a small stuff sack that takes up less room than your lunch. Add it to your dog first aid kit and you’re covered for any paw situation the trail throws at you.
The Bottom Line
Paw care is the least glamorous part of hiking with your dog, and it’s the part that matters most. You can have the best harness, the perfect leash, and a trail-ready dog who’s in peak condition — if their paws fail, everything stops. The routine is simple: condition pads with balm before hikes, inspect paws after every outing, carry boots for rough terrain, and train your dog to wear them before you need them.
Five minutes before the hike. Two minutes after. That’s the entire investment. And it’s the difference between a dog who’s ready for tomorrow’s trail and a dog who’s benched for three weeks waiting for a pad to heal.
For the complete trail safety picture, pair this guide with our trail injuries field guide and dog first aid kit essentials. For terrain-specific gear, see our dog boots guide and cooling vest guide. Your dog’s feet carry them through every adventure — take care of them.
GearHound is reader-supported. When you buy through links on this site, we may earn an affiliate commission at no extra cost to you.
⛺ Get Your Free Camping with Your Dog Checklist
Join our newsletter and get this free printable plus weekly tips.
Price Check
Prices verified via our product tracker. Updated Sep 27.
| Amazon.com : Ruffwear, Grip Trex Dog Shoes - 2 Count, Obsi | $49.99 | 4.1★ (2,416) |
| Amazon.com : Muttluks Fleece Lined Muttluks Dog Boots - Se | $100.00 | 2.8★ |
| Amazon.com : Bodhi Dog Paw Balm - Lick Safe - USDA Organic | $13.99 | 4.5★ (3,462) |
| Amazon.com: Dexas MudBuster Portable Dog Paw Cleaner, Medi | $14.99 | 4.4★ (25,287) |
| Pet Supplies : Adventure Medical Kits Me & My Dog Medical | $74.99 | 4.7★ (433) |
| Amazon.com: Vet Wrap for Dogs,Bandage Wrap,12Pcs 2 Inches | $8.99 | 4.2★ (423) |
| Amazon.com: Styptic Powder for Dogs & Cats - Quick Stop Bl | $9.99 | 4.7★ (1,267) |
As an Amazon Associate we earn from qualifying purchases.